

This Paper Board Game Organizer is perfect for sorting out a messy box and optimizing space for all the board game pieces.

I don’t think the fact that I like to organize things is a secret. But sometimes I get a little too hyper-obsessive. And once an idea is in my mind, it’s there to stay. A part of me just ruminates more and more on it until I won’t be able to focus on anything else. And my obsession this week came from organizing board games.
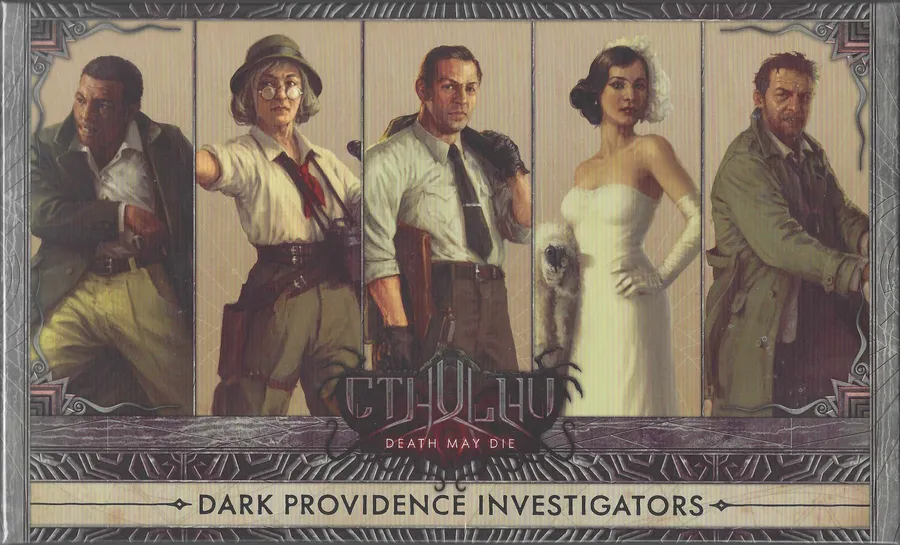
What I wanted was to reduce the number of boxes on the shelf. One game (Death May Die) had 6 full-size boxes and some spares. And this bothered me so much that I opened every single box and started rearranging.
One box was dedicated to episodes (and yes, there are too many episodes to fit in a singular box), one to character figures, two to monsters (to be condensed down later), and external drawer for all the elder gods, and a file organizer for all the map pieces or larger cards.

That just left the small cards, dice, investigator extra tokens, fire tokens, health tokens, and other map tokens. I.e., a lot of random small stuff. The comic book extra box could contain all the pieces, but it was an absolute mess that stuck in my head. I have seen many board game organizers made from wood or 3D printers, but these are tools that I, surprisingly, don’t have. And I don’t know if my organizational scheme is particularly common enough for there to be a demand (not that I checked). But why go too fancy when cardstock can work? And that was the start of my idea to create a paper board game organizer.
Check out the Craft section of MCG for more fun patterns in strings and things or more unlimited ideas.
Supplies

The main supplies that I needed for this paper board game organizer were, well, cardstock paper and double-sided tape. I decided to use multiple colors of cardstock. The biggest reason behind this decision was that I wanted to make deck boxes for the cards. And I wanted a way to differentiate them. The easiest way to accomplish this was to write on boxes, but writing on black cardstock doesn’t give easily visible results. I guess a marker was also on my list of supplies.
Process
SubtitlThe Design
The first step of the project was figuring out how I wanted to separate everything. As I made my different piles, I came up with a few different piles:
- The dice
- The cards
- Unknown Monsters
- Relics
- Mythos
- Patient Files
- Health tokens
- Map tokens
- Fire tokens
- Skill Upgrade tokens
- Investigator pieces/extras
I fiddled with the idea of breaking the investigator pieces apart, but since Anita has a discovery card, having one big bin for the player pieces felt like a good compromise. Once I had my different piles, I made some measurements. I decided early on that all boxes would have a depth of 1 inch, given the size of the box. The remaining dimensions were more freeform:
Holder Boxes
Small (Fire tokens, Skill upgrade tokens)
Medium (Dice, Health tokens, Map tokens)
Large (Investigator pieces)
The card boxes have a bit more play with dimensions because I wanted the dimensions for them to be relatively tight to the cards they were holding.w
Card Boxes
Standard (Mythos, Relic, Patient Files)
Large (Unknown Monsters)
The Template
With dimensions in hand, I was ready to come up with my templates for the paper board game organizer. Or rather, I found a website that was ready to come up with my templates. While scrolling through Reddit, I came across one of the best template websites. They have designs for many different shapes and projects, which were perfect for me.
I used the bottom of a “box with lid” for my compartments and the “card box” for the decks. There are some other projects on the site that I am interested in playing with. The site can change all the dimensions and then some. You really can customize the project to your exact needs. I know I’m gushing, but this site was an exciting find for me. Especially since there were multiple options for file exporting.


Projects like this are where I heavily lean on my Cricut because it can do precision better than I can. Printing the outline and self-cutting and scoring is always an option to keep in mind. Tools are great for expediting, but not always needed. I did have to do a bit of self-modification to get the lines exactly right for cutting.
Holder Boxes: Cutting & Taping
The Cricut did a great job, cutting out my boxes and preparing me to put everything together. I think it’s worth taking the time to score the paper. This early step helps give a more polished look towards the end. The box is effectively a T-shape with some extra flaps on the short sides to connect the long and short sides. I used double-sided tape on these flaps because I stand by double-sided scrapbooking tape being one of the strongest adhesives.


The flap that tucked into the inside of the adjacent side. The most difficult part of this step was lining up the edges. There were many times when I felt I was pushing the paper too far in or not far enough. Eventually, I got a rhythm going of keeping the flap away from the side until it was aligned to my satisfaction. Not an easy task.
Deck Boxes: Cutting and Taping
The deck boxes had a little more shaping on them. I also had more decisions to make about where to tape. Unlike the t-shape of my fabric deck boxes, the paper ones were more of a wrap-around situation. This had one flap on one side that would wrap around to the other to create the square shape.


The top and bottom had multiple flaps as well, and here was where I had a choice. I decided to tape the bottom flap to the inside of the box to prevent it from opening on both sides. This leads to the top being the only real place to be accessed.
The patient file and relic deck boxes ended up being a reasonable size, but the mythos box had a very small depth. Perhaps it is too small. But what works, works. The last step for this paper board game organizer was to put everything nicely into their compartments. I did toy with the idea of connecting the open top boxes to make a static paper board game organizer, but decided to keep the flexibility. For now.

Reflections
I don’t know which part of me gets really into organizing, but I was also very happy when I finished this paper board game organizer. What surprised me was the extra space in the box once everything was organized. Using the space more efficiently ended up giving me more space. What a surprise! I was also glad that using paper worked so well. It does make me wonder what other games I would be able to organize. Hmmmm….

Lessons
Think about the Final Shape and the Edges
Originally, I had measured the large box to fit inside the box, where it would be the length of the box’s width. But, as you can see in the pictures, the long ended up going along the long edge and not the short edge of the box. This was because I measured it for a perfect fit. And that didn’t take into consideration the space the paper box would take up. So, it was ever so slightly too big. Keeping in mind all dimensions is a lesson I am still learning.
Pattern


Paper Board Game Organizer
Ingredients
- 3 Small Box Paper
- 3 Medium Box Paper
- 1 Big Box Paper
- 1 Square Card Box Paper
- 2 Standard Card Box Paper
- 1 Shallow Standard Card Box Paper
- Pen for labels if desired
- Double-Sided Tape
Instructions
- Cut paper using the given template. Use the website above to adjust box sizes and file types.
- Score along the dotted edges (template provided with and without dotted edges). This is where the paper will be folded.
- Place double sided tape on the flaps along the side that can touch the adjacent edge. Repeat for all boxes.
- Use the pen to label the deck boxes if desired. Place the double-sided tap on the flap along the side that can touch the adjected edge, Optional, tuck bottom edge into the deck box and tape bottom shut. Repeat for all card boxes.


Leave a ReplyCancel reply