
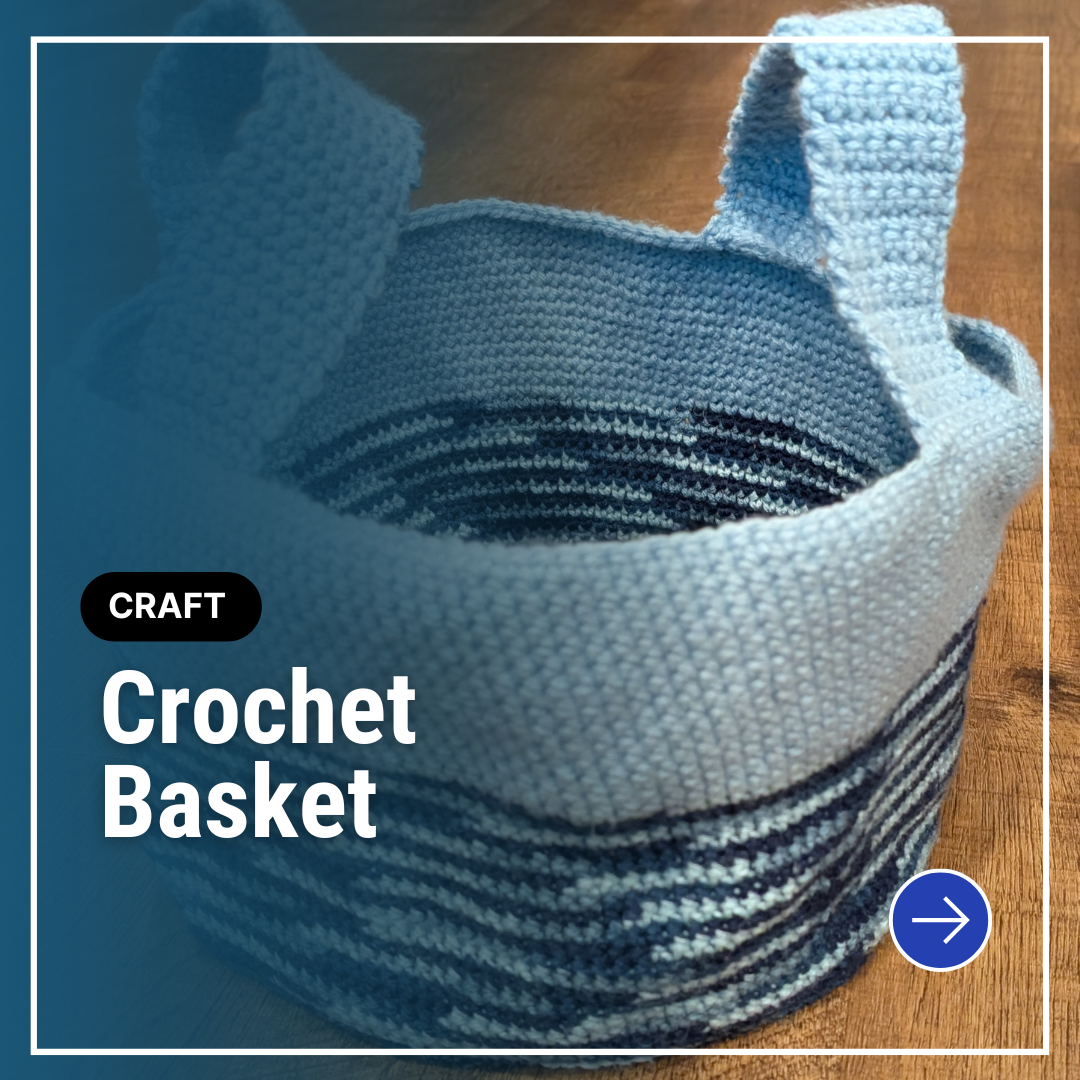
Friendship Bracelets are a classic craft that can make intricate or simple patterns of thick fabric as a bracelet or for other desired uses.
Total Project Time: approximately 3-4 hours

I grew up making friendship bracelets. This is a very classic craft for me as I remember making dozens of bracelets with different patterns and designs. Friendship bracelets are one of the most customizable easy crafts there are many options for change. There are different patterns, your choice of color, and a range of sizes! Going from something very slim to a thick and chunky bracelet. I think I am a fan of bigger bracelets because designs can become more elaborate.
Check out the Craft section of MCG for more fun patterns in strings and things or more unlimited ideas.
Supplies
The amount and color of threads needed will depend on the project you’re doing. One great resource for patterns is friendship-bracelets.net. There are thousands of options to choose from or you can generate your own pattern if nothing there appeals to you. For this project, I picked a 40-thread pattern that required 10 colors. Each color will need 4 strands for the project.


Process
To make the bracelets, there are four types of knots that you’ll need to know. Two of these knots can be broken down by explaining the remaining two. The first type of knot we want to discuss is a forward knot. This is denoted by an arrow pointing downward and to the right. For this type of knot, you’ll want to make a four in the pattern by crossing the active color over the thread next to it. The active color is the one used to make the knot.
The tail of the active thread is that threaded through the hole of the 4. This is what the knot is. The active thread should then be tightened to pull the knot tight against the rest the work. This process is then repeated to do a complete forward knot.


The second type of knot is a backwards knot in which you make a backwards four with the active thread. The end of the active thread will then be threaded through the whole. And, just like with the forward knot, the active thread is then tightened to pull the knot tight to the rest of the project. This knot step is repeated once more to reinforce the backward knot.


The other two types of knots are a forward reverse and a backwards reverse. These knots are a combination of the forward and backwards knot. Instead of doing two knots in the same direction, one knot is done in one direction and the other is done in the opposite direction. The forward reverse starts with a forward knot but then uses a backward knot to move the active thread back. The backwards reverse starts with a backwards knot but then uses a forward knot.
Lessons
Adding more Thread
It can be difficult to gauge how long the thread should be when setting up the project. This can lead to running out of thread in the middle of the project. And I could not figure out the best way to elongate the threads on the currently project. Tying the threads together would leave a visible mark in the project and cause extra lumps and bumps.
And then I realized, why elongate the thread at all? It is better to replace it together. With the same color thread, you can create the desired knot and weave the new thread into the piece. Then the tails of the old and new thread can be cut! It’s extremely hard to tell where the change over is!

Leave a Reply