
These cases are generally useful when you have similar small objects that you want to keep in one place. The general shape and size lends itself well to pens and pencils hence the name.
Total Project Time: Approx. One Hour
A few weeks ago, I made a basket for all of my silicone molds and it looked amazing. And then more arrived and I cursed myself. Especially since the new molds that arrived were very small and easily could be lost.

So I decided that making a pencil case type bag would be the best for keeping the molds contained. I normally do not work with zippers when I sew and I have been trying to introduce them more into my work. So this was the perfect challenge as it also filled one of my needs!
Check out the Craft section of MCG for more fun patterns in forever fabrics or more unlimited ideas.
Supplies

This project is fair simple in terms of materials that are needed. For this one, you’ll need a fabric for the outside, a fabric for the inside, a stabilizing liner for the outside fabric and a zipper. In terms of fabric length I decided to use the below image to figure everything out.

In this diagram, D is the length of the bag and also corresponds to the needed zipper length. B will end up being the height of the bag and C will be the width. From my understanding of math, 2A should be equivalent to C as they will combine together to make the width. So this type of bag (or pencil case) can be really customizable with what you want them to look like which is another great perk.
Process
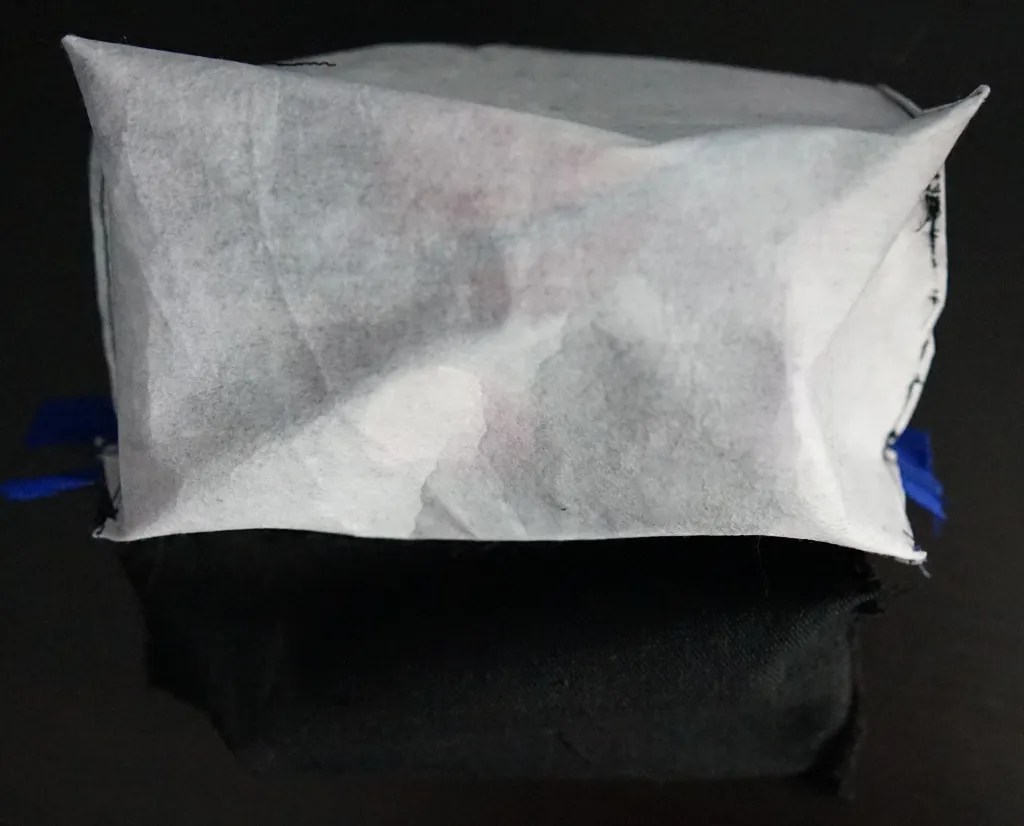
As always, the first step in the process is cutting all of the fabric into the right shape. This one was actually a little complicated for me and I ended up keeping some stuff I shouldn’t have while cutting off other parts I meant to keep. And, of course, I was out of the fabric beyond what I had so I ended up stitching it haphazardly together to make it work. Then comes heat gluing the lining fabric to the outside layer. The fabric I have uses a hot iron to attach the the outside fabric.
I discovered I needed to prep the length end first before sewing on the zipper because if I tried to do the edging while sewing the zipper together, it was just a mess. This might be easier to do for a seasoned sew or if I had left more of a tail to cut off.
Then came sewing the other side of the zipper and I do not understand how people are able to sew cones so well. I made it about half way down the zipper before I thought to unzip it. Duh. Sometimes I can hit myself for missing the most obvious solution. I was prepared to come up with something wild too…. it may or may not have involved metal poles and a lot of rubber bands….


So will all of that sewn together, the bag took on more of a cone shape which I really liked. I then had to separate the outside fabric and the inside lining. The corners (width edges) and edges for height of these are sewn separately because the inside lining just sits inside the pencil case.
It was about this point that I realized I maybe didn’t need to add a liner into the pencil case because no one really is going to see the inside. But it does make the total bag nicer. To that point, I did leave a hole on one of the inside height edges because this bag does need to be turned inside out.


Once all the edges have been sewn together, it is time to flip the bag inside out. Now I was dumb and did not unzip the zipper before flipping the pencil case inside out in the first place.
This caused a lot of problems when trying to flip the bag right side out because I could only go so far before hitting the zipper and being up able to move forward. Luckily, with some outside help, the zipper was able to be unzipped from the inside.
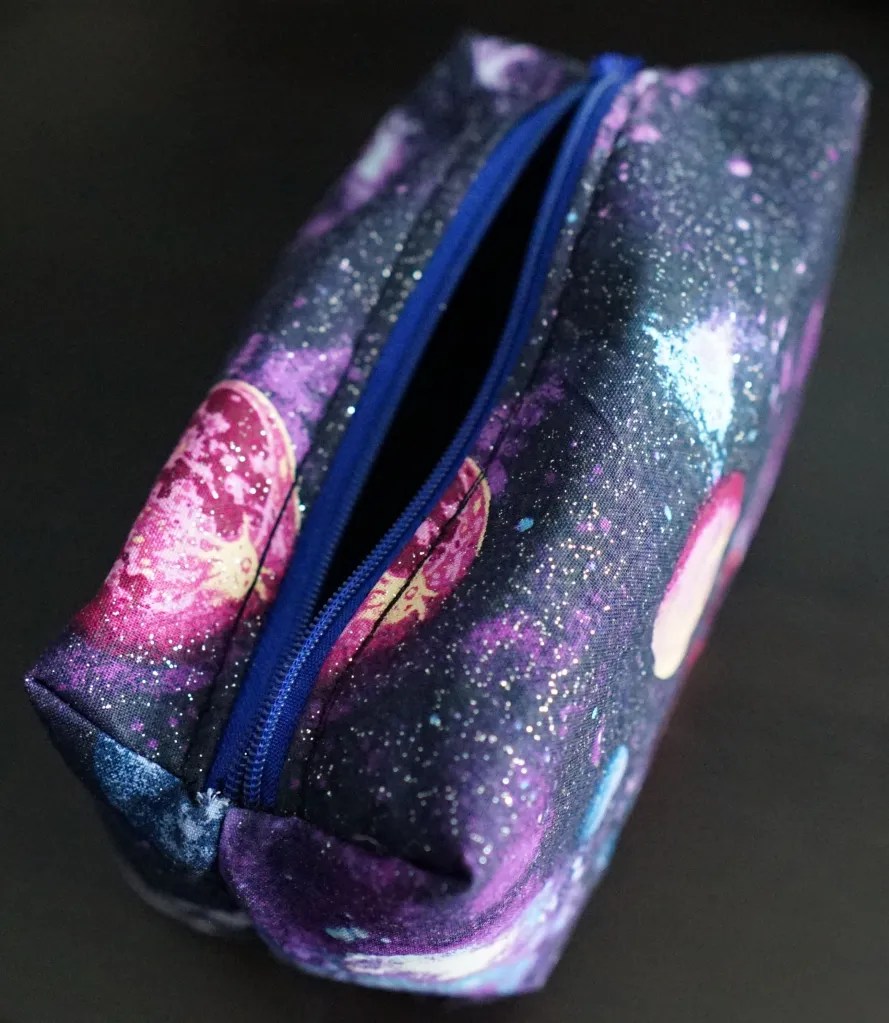
And the pencil case was done! I gotta say, this was a tough one. It definitely gave me a challenge but I do love projects that are able to teach me patience since I don’t have enough of it!
Have Patience. All things are difficult before they become easy.
-Saadi

Lessons
Working with Zippers
Well, this project did help me a learn a lot of lessons about how to use zippers. Because there a couple lessons, I’m going to use bullet points
- Leave extra fabric when working with the edges along the zipper! It’s important to have this fabric because it’s very easy to get lost
- One you finish sewing the zipper, unzip it for the rest of the project unless you need to act like a solid piece. More than likely it will give you some give that will be good to work with.
Leave some room to work!
This project is definitely one where I learned, leave extra room! Mistakes are going to happen, so it’s best to give yourself a lenient way to deal with them.
Quick Recipe
Instructions
- Cut fabric along the pattern given under supplies.
- Fuse the outside fabric with the fabric liner
- Sew one side D of the outside fabric and the inside fabric to one side of the zipper
- Mimic on the other D side
- Flip pattern inside out and separate the inside and outside fabric, make sure zipper is unzipped.
- Sew together corresponding B sides on both inside and outside fabric respectively, leave a hole open on one side of the inside fabric to pull inside out
- Sew A side to corresponding C side on the inside and outside fabric respectively
- Turn project inside out
- Use hidden stitch to close the hole on the inside lining


Leave a Reply