
Sea glass is a wonderful raw material to work with that became all the more beautiful when paired with epoxy.
Total Project Time: Several Days…

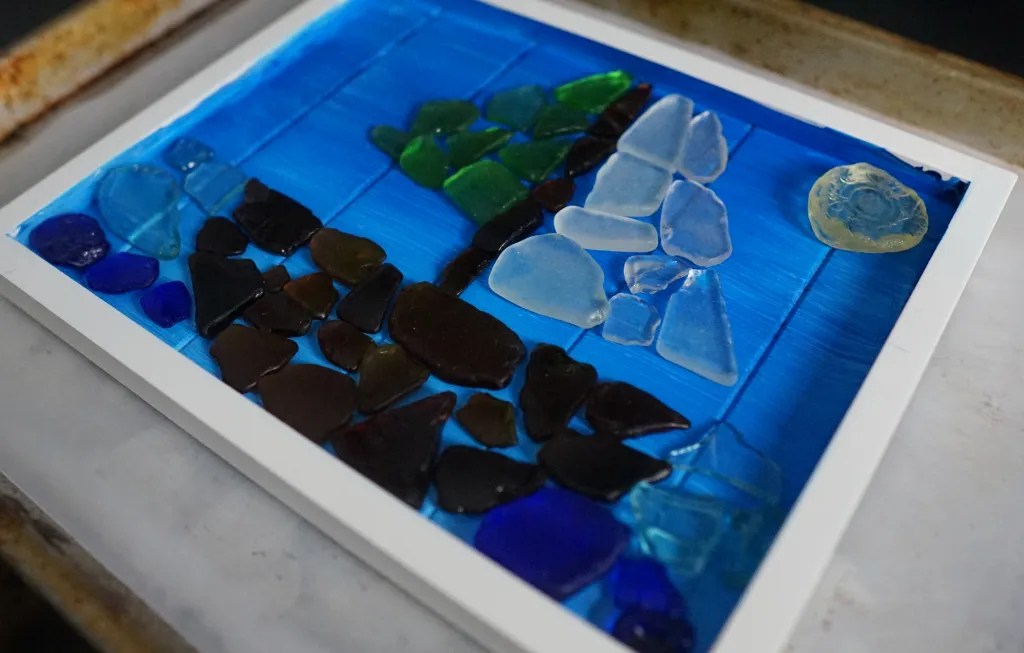
Living near the great lake means I have a large container of sea glass. My pockets always end up being full after every trip I take to the beach. But I didn’t want to just keep them sitting in a bowl in the corner of a room, collecting dust. So I decided to see what type of art I could make by encasing the glass in epoxy! I wanted to make a nautical piece since sea glass naturally reminds me of the water.
Check out the Craft section of MCG for more unlimited ideas.
Supplies

For this project, I collected the following materials:
- Sea glass – I went with blue, brown, green and white for the colors
- A Picture Frame
- Paint – white, light blue and dark blue
- Baby Oil (Optional)
Process
01
Prepping Materials
I decided to do two steps to prep the materials: painting the frame and prepping the sea glass. For the frame, I wanted to do a gradient color on the background to get the feeling of going from sea to sky. To do this, I made dots of paint on the frame and then brushed them together going from the darker color to the lighter color. I know by going from dark to light, I favored the dark blue color the most, but I love the way it turned out.
To prep the sea glass, I wanted to polish it. Sea glass has a chalky like appearance after it dries, and I was curious if I would be able to get that off. I tried soaking it in vinegar (to no avail) and then eventually turned to baby oil. The oil polished it nicely but later I realized that the epoxy would hydrate the glass just as well, so this was a pointless step.


02
Pouring Epoxy
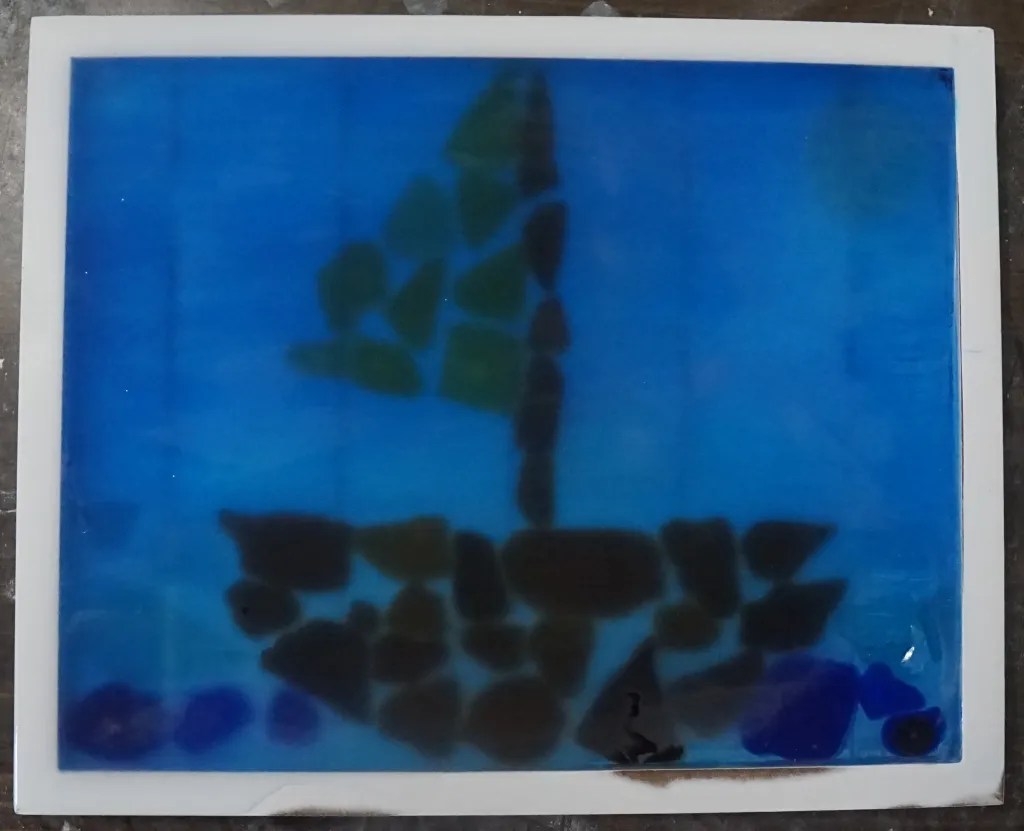
The next step is setting the stones! Since I wanted an underwater appearance, I arranged the sea glass how I wanted and then poured the epoxy! When pouring into a frame like this, it’s a good idea to make sure you’re working on a level surface. Also, to know how much you need for the project. I regret not calculating out the volume of the frame before I started.
But it worked out okay. I ended up doing multiple pours and it was uneven in some places causing the epoxy to go over the frame. I would definitely do things differently if I had the chance to do it again, but I still love the way it worked out.


03
Smoothing Out the Surface
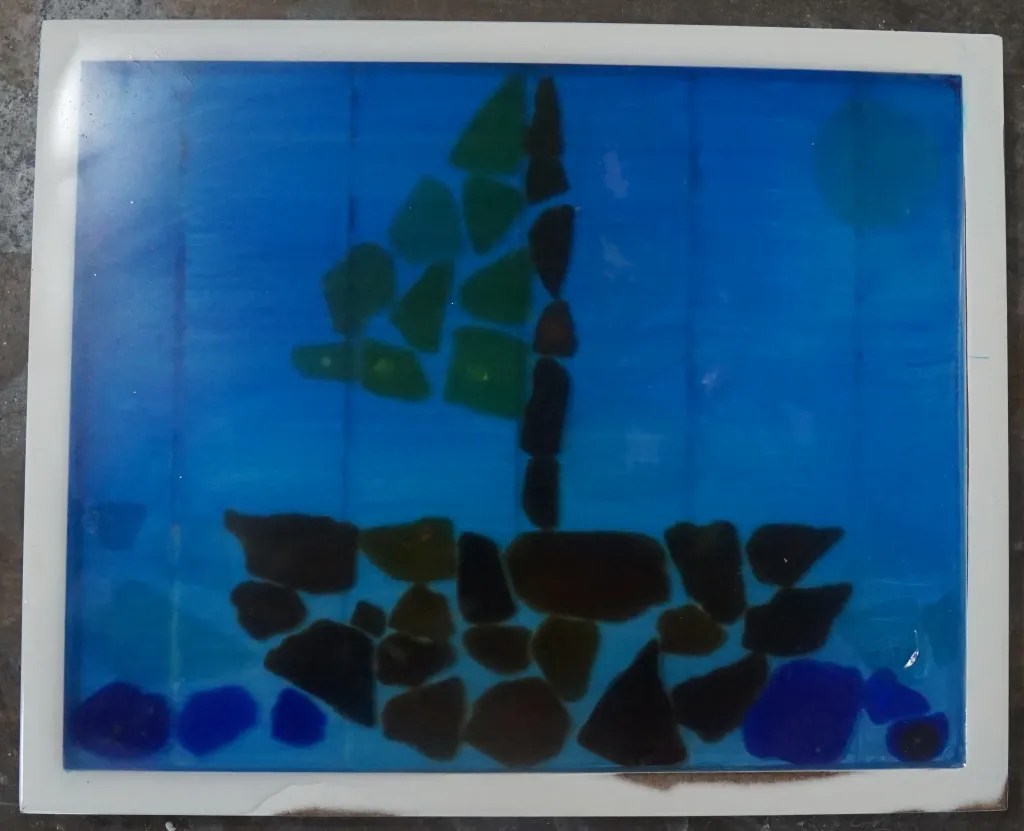
Since I didn’t make the most even of pours, I decided to sand down the project and make everything as even as I possibly could. I went through several layers of sanding paper and did my best to spend time on each one. I started with [add].


04
Finishing the Piece
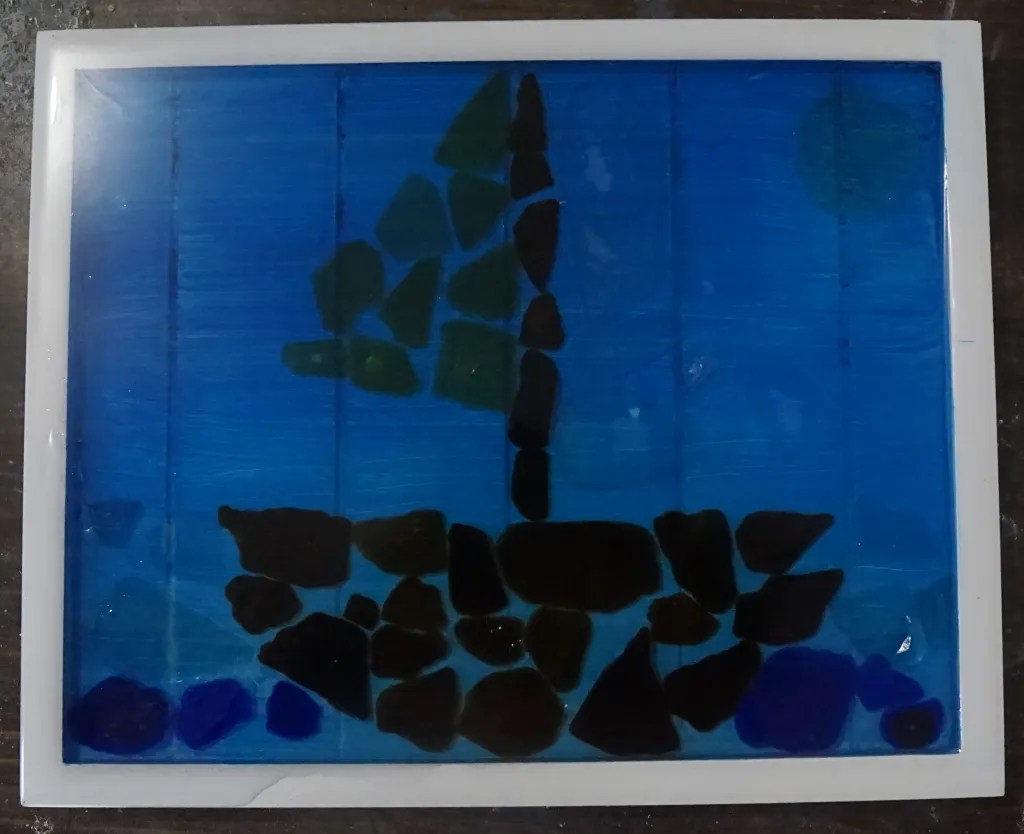
I was surprised but even after sanding, I couldn’t get that clear shine I was looking for. It was almost like the piece decided it wanted to become like sea glass. And that chalky look remained. Thinking back as I’m writing this, I should have tried to do a quick polish with the baby oil…
But instead, I did a thin pour on the top layer to cover the epoxy that had been sanded off. And the piece was finished well!!


Lessons
Sanding Epoxy
One word is coming to mind when sanding projects: patience. I have learned the hard way that you cannot rush these projects because you’ll just end up doing more work in the long run. It’s important to take your time and do each step with care. I have come to agree that patience is indeed a virtue.
Quick Recipe
Instructions
- Prep Surface – paint background of frame
- Arrange sea glass into the desired final shape
- Pour epoxy as per instructions on the packaging
- Sand surface as needed
- Pour a thin layer of epoxy to finish the piece.


Leave a Reply