
The Great British Bake Off is one my favorite shows, inspiring new bakes, new flavors, and new techniques! Join me on my journey to bake through all the Season 13 Challenges.
Since replicating Season 8 of the Great British Bake Off wasn’t enough, I decided to try my hand at a different season! This time, I am working on season 13 which is the most recent season! This season had some great bake ideas as well as some not-so-great ones (but we’ll get there when we get there).
So, I figured, let’s do this all again! One of the big challenges I wanted to attempt this time around was coming up with original ideas for the signature and showstopper challenges instead of doing a recreation. On your mark… Get set… Bake!
I have made it to the Showstopper challenge of Week 6, a… cookie lantern? Some of these challenges are very weird. For some reason, the judges wanted the baker to make a cookie lantern that contains two sweet treats. And this lantern should have the ability to hand but it did not need to be able to light up.
Really, I just think that the judges wanted to have some sort of hanging challenge. Which is particularly difficult for me. Not because I cannot make something hang but because I will need to build an apparatus in order to get the cookie to hang. I am doing everything myself and nothing is provided.
So, what did I do for this cookie lantern? I did something near and dear to my heart, Jack Skellington! Well… at least, I made his head. It’s such an iconic design that I couldn’t help myself. And he fits so well into the Halloween Theme!
For the sweet treats, I made black and white macarons and lime chocolate truffles. But I will only be focusing on the cookie lantern in this post. Once I get through all of the Great British Bake-Off recipes, I will make sure to post them.
Check out the Season 13 Great British Bake Off Page to see other bakes from this series or the Make section for more recipes! Leave a comment below and let me know what you think and how the recipe works for you!
Ingredients
For the gingerbread cookie lantern, I needed less ingredients than I anticipated. I am making a very standard gingerbread which is similar to what is used when making a gingerbread house. This includes a lot of flour, a handful of spices, brown sugar, molasses and butter. I am trying to extract flavor out of many areas.
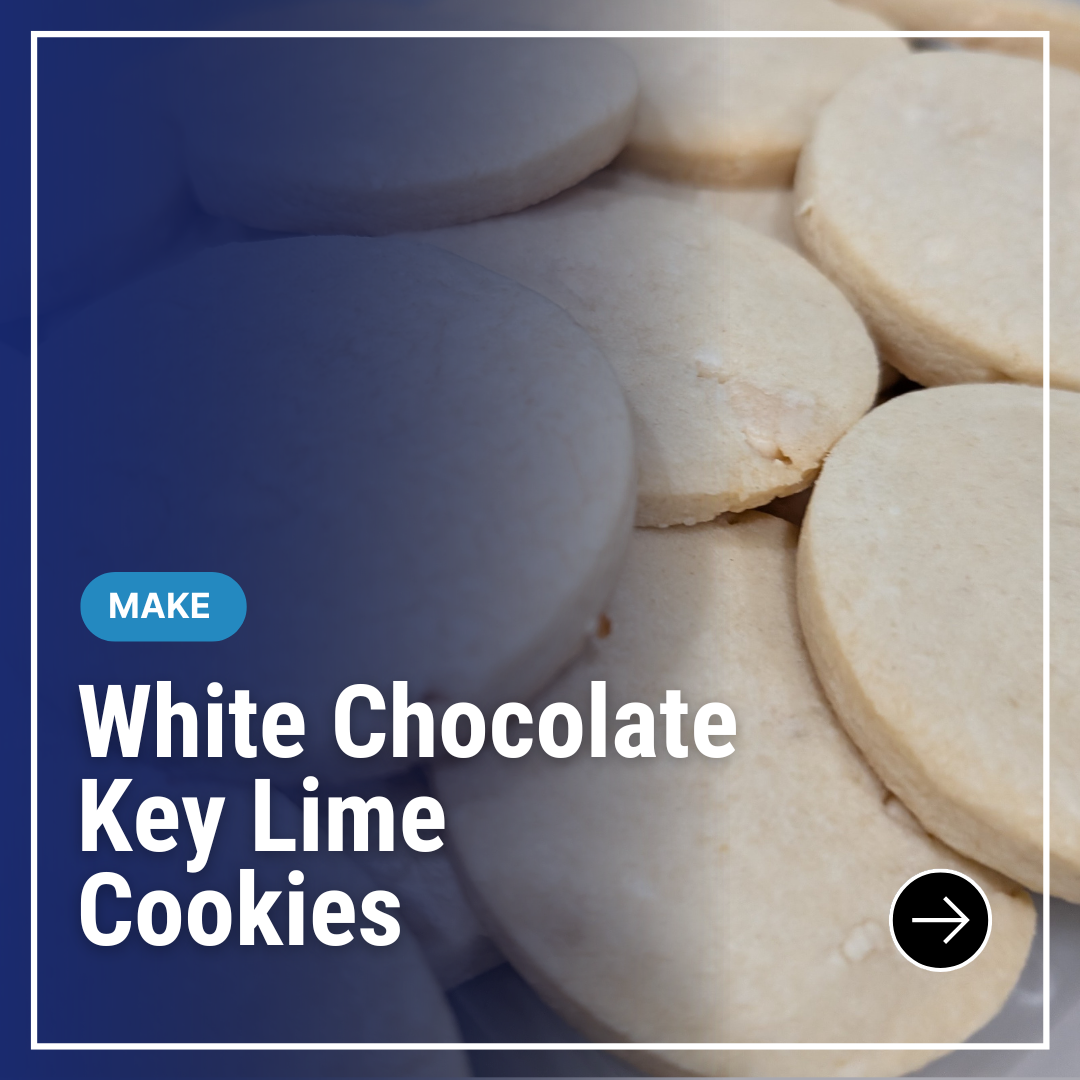
For the decoration, I used a white chocolate melt since it has more flexibility of movement for decorating than normal chocolate. I know the image shows normal chocolate but that is wrong.
Process
The Apparatus

Before I could even start baking, I needed to make the apparatus that would hold up the lantern. I know in baking that internal cake structures are called apertures, but I prefer apparatus for this. There were some tools that I needed: something for the structure to rest on, a hook screw, a long rod, and straight screw.
I decided to just use a piece of wood as the base of the structure. It just needed to be sturdy and be able to hold the weight. I wanted a white piece of thick wood because it would blend into the lantern better, but I ended up using some bark wood. I still think it worked well.
In the center of the wooden based, I used a screw to attach the base to the wooden rod. Then, I attached the hook to the other side of the rod. This was to be able to hang the apparatus from other pieces.

The Dough

Once the apparatus was made, it was time to move onto the dough. This is a very standard cookie dough, so I was not expecting any surprises when I was making it. In a medium-large bowl, I mixed all the dry ingredients which included the flour, baking powder, and all the spices. (Yes, I consider salt a spice). There was a lot of flour needed for this recipe.
Then it was time to whip together the remaining ingredients. And I do mean whip. I started by beating the butter. I wanted to make the butter silky smooth in order for it to incorporate fully into the finished dough.


Then I added the sugar and kept beating the mixture like a madman. Beating the butter and sugar together is fundamental for making cookies. The more I do it, the more the finished cookies have a smoother and better taste.
After that, I added the eggs, molasses and some water into the egg/sugar mix. Again, I wanted to get everything incorporated. I think I often space out during this step which shows you how unimportant time is. While you can over mix parts of the dough, that will not happen often. You would have to mix for an extremely long time.


The dough needs to be rested before I can work with it into the right shape. I rested the dough overnight, but you can rest for as little as 2 hours. I was a little concerned about the dough at this point because the dough felt very dry.
Shaping and Baking
The next step is shaping the dough. Since Jack Skellington is the end goal for the cookie lantern, I want to make the cookie into a sphere. I needed two round cake pans to make that happen. First, I flipped over the cake pans. I wanted to use the outside and not the inside.
After I took the dough out of the oven, I rolled it out. I normally would have done this on a lightly floured surface, but the dough was so dry, I didn’t want to introduce more flour. My main goal was to get the dough down to ¼ inch thickness.


Then, I used this rolled out cookie to drape over the cookie pan. This caused quite a bit of a headache. The dough was dry so some of the edges did not want to be covered. I ended up pinching the dough and rolling it out over the mold to get it as smooth as I could. I wanted the dough chill one more time after this to really hold the shape before baking.
Since I am using the apparatus, I needed to manipulate the dough slightly after baking. I guess this could have been done before baking but I did not think to. I cut out a small circle at the top of the semi-sphere to be able to thread the cookie lantern through the hanging apparatus that I built.

The baked cookie sphere should cool slightly before removing them from the mold. Then I very carefully removed the semi-sphere from the tin. This process was so nerve wracking. I was completely terrified that the cookie could collapse at any moment. I needed the cookie to fully cool before moving onto the next steps.
Chocolate


I decided to use chocolate melts to hold together the cookie lantern. I could have used caramel or royal icing, but I wanted to use chocolate because I thought it would be the easiest way to get the aesthetic look, I was going for. My cookie is brown, but I want a white surface to work on.
This was also needed in some areas where the sphere cracked and broke apart. Luckily, I was able to use the melted chocolate to put everything back together.
White chocolate seemed like the easiest solution. And since I was already coating the outside of the sphere with white chocolate, I decided to use it to hold the semi-circle together as well. I only melted a handful of the chocolate melts at first since I wanted to create the seam before smothering the whole cookie lantern in chocolate.
I placed the bottom of the lantern on the apparatus and filled it with treats since that was the challenge. Then I used the melted chocolate around the rim of the cookie. With this, I could attach the top of the lantern onto make the full sphere. The chocolate seam now needs to set before moving onto the next step.


Because I wanted to smother the whole sphere in chocolate! I also used chocolate because I thought it would do a better job of mimicking Jack’s head with its smooth texture. The remainder of the chocolate was melted in the microwave and poured it all over the lantern.
I had to be careful in this step to not get chocolate in the top hole of the lantern. I did not want to have white chocolate covering the treats inside. They both already had some white chocolate on them, but they did not need more.

I was a fool in not realizing how quickly the chocolate would harden. This is a fast-paced step especially when it comes to smoothing the chocolate on the cookie lantern. I did my best to make this smooth, but I do think it was always going to be a struggle to smooth chocolate by hand.
Decoration
With the chocolate coating set, all that was left was adding Jack’s face to the sphere. I found an image that I thought worked well and decided to transfer that to the sphere. Now I do not have any special tools for this, so I just had to free hand the image while referencing the original. But first, I needed the material that I was going to use to make the face: royal icing.

Making royal icing is easy, I just combined egg whites and powdered sugar. Done. But I wanted to make the face black, which means that I needed black royal icing. And taking anything from white to black is going to require a lot of dye. And I kept adding until I was completely happy with the color. (It needed a lot).
Then I was able to freehand the drawing and finish my cookie lantern. I was so nervous to hand this giant sphere, but I had to suck it up and make it work. One thing I wished I had did was reduce the size of the rod coming out of the head to make it look like it was not there. Hiding the apparatus would have been ideal.

Reflections
Before I get too far into my reflections, I wanted to show breaking open the cookie lantern. This was an exciting moment because it was fun to take a hammer to the project, I spent so much time on. It felt cathartic in a its own way.
This was honestly one of the strangest projects I have ever done. I really enjoyed making the cookie sphere, but it felt like a massive challenge. I felt like I was working against the cookie dough and the chocolate.
The cookie dough did not want to rest flat against the mold and I could not get the cookie as even as I wanted. So, this was a challenge. I did end up using a micro planar to smooth out some areas, but I wish I did not have to do that extra work to being with.

Then came the chocolate. One thing I wished I had done was cover each half of the sphere in chocolate before putting them together. I think this would have given me an easier time to work with the spheres and get them to where I wanted them to be. Coating the bottom half of the sphere proved to be a little difficult. I forgot to account for gravity….
Lessons
Working with Hardened Chocolate
I found myself in a little pickle because some of the chocolate hardened before I could smooth it in the way that I desired. The best way to work with chocolate is for it to be warm. So, I wanted to find a way to warm it up! My solution? A hairdryer! It was the perfect way to heat up target areas and make them workable.
recipe
Jack Skellington Gingerbread Lantern
Ingredients
Gingerbread Shell
- 6 Cup All-Purpose Flour
- ½ Teaspoon Baking Powder
- 4 Teaspoon Ground Ginger
- 4 Teaspoon Ground Cinnamon
- ½ Teaspoon Ground Cloves
- ½ Teaspoon Ground Allspice
- ½ Teaspoon Salt
- ¾ Cup Unsalted Butter softened
- 1 ½ Cup Brown Sugar
- 2 Large Eggs
- 1 Cup Molasses
Chocolate Coating
- 6 Cup White Chocolate Candy Melts divided
Royal Icing
- 2 Large Egg Whites
- 2 ⅔ Cup Powdered Sugar
- Black Food Coloring
Instructions
Gingerbread Cookie Shell
- In a bowl, whisk together flour, baking powder, ground ginger, ground cinnamon, ground cloves, ground allspice, and salt. Set it aside.
- In a large bowl, beat butter for 2-3 minutes. Then add brown sugar and mix for another 2-3 minutes or until light and fluffy. Then add in eggs, molasses, and 1 tablespoon of water. Mix until combined.
- Add half of the dry ingredients until they are well blended. Then add the remaining flour mixture and combine until just combined into a cookie dough.
- Divide the dough into two halves. Shape each half into a disc and wrap. Let the dough chill for at least two hours. (I prefer to chill the dough overnight).
- Work with one disc at a time. On a lightly floured surface, roll out dough to be ¼ inch in thickness. Place a piece of parchment on the outside of a round cake pan. Drape the dough over the parchment paper and trim away any excess dough. Let chill for 30 minutes.
- Heat the oven to 350° Fahrenheit and bake each shell individually for 13-15 minutes. The edges should be a little browned compared to the remainder of the cookie. For more even browning, rotate cookies halfway through baking.
- Cut out a small circle on the top and bottom of both shells while still hot. (If using an apparatus)
- Let the shells cool for five minutes before removing the cake tines. Then let both halves of the shell cool completely.
The Chocolate Coating
- Place one semi-sphere on the apparatus (if using one) so that it looks like a right-side up bowl. Place treats inside the sphere as desired.
- In a small bowl, melt 1 Cups of the White Chocolate in the microwave using 10 second burst. When the chocolate is ¾ melted, remove from the microwave and stir until the chocolate is a smooth liquid. Let cool to thicken up slightly.
- Spread the chocolate over the lip of the bottom sphere. Attach the top sphere, threading the apparatus through the top hole. Let chocolate harden to attach the two halves.
- Melt the remaining chocolate in a microwave using 10 second bursts until ¾ of the chocolate is melted. Stir until the chocolate is smooth. Gently pour the chocolate over the sphere to get full coverage. Be careful of the hole on the top of the lantern (if using an apparatus), you don’t want to get white chocolate all over the treats inside. Use a knife to help surface coverage if needed.
- Let chocolate harden.
Royal Icing
- In a large bowl, whisk the egg whites and powdered sugar together. Add in black food coloring until the correct hue is reached. This will take a significant amount of food coloring if you are trying to achieve a black hue.
- Place royal icing in a piing bag with a fine tip. Decorate using the image in the above article as inspiration or just decorate as desired.
- Hang and enjoy!


Leave a Reply